Thats why I recommend using paint.
First, get all these items:
- 4 brushes
- Paint tape
- 1 water recipient
- 4 pots, large enough to mix colors in them.
- One pint or gallon of the color of your choice.
- One gallon of white
- Wood sticks to mix
Before starting, make sure you freshly painted the ceiling and the top (24”) of the ombre wall with white! You must apply two coats of white.
While waiting for it to dry, you can apply paint tape on the sides of the wall and on the moldings. That will greatly ease your task so don’t skip this step.
Now, you must divide your wall in 5 almost equal sections. I advise you to mark little lines in pencil as a reference, or to use some tape on the right and left walls to guide you. Until now, everything is still under control?
The next couple of steps require more attention, but I know you’ll succeed!
You have to mix the color with the white to obtain 3 tints of the color that range from the base color you chose (the darkest) to the white that is at the end of the wall.
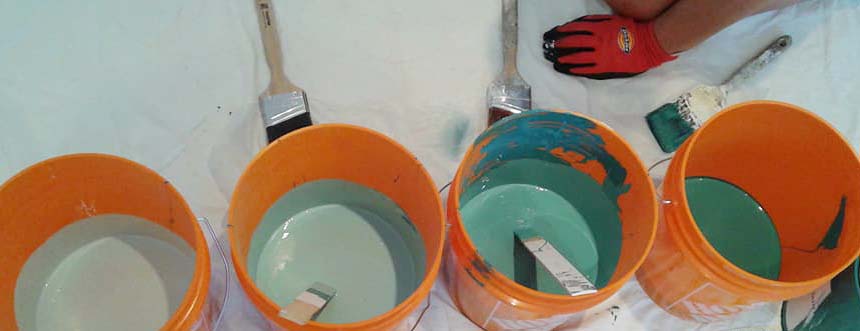
In the first container, pour 3 parts of color for 2 parts of white.
In the second container, pour 2 parts of color for 3 parts of white.
In the third container, pour 1 part of color for 4 part of white!
Mix well all of the colors with a wood stick and test them in the bottom of the wall to see if the gradient is pretty. Adjust if needed.
Now you are ready for the most important part, which is application!! It has to be done quickly and using each brush for each color. The created effect will be textured, a little bit as in an abstract painting, so don’t panic if brush strokes are visible, it is the desired effect, it gives texture and personality to the wall!
Start by painting the bottom section with the darkest color. Once it is done, hurry and apply the second color at a distance of 1 inch from the first one.

Warning: the paint should be thickly applied since there will only be one coat. I also advise choosing a wall that isn’t too large because it will be hard to create the desired result. I would say a wall with a width of 15 feet maximum.
One the paint is applied on the entire section, wet your brush in water and pass over the white band to cover it as well as the beginning of the bottom color.
Continue like this for the entire wall. You can make some touch ups if needed, but don’t forget that the paint gets darker while drying. Make like a crossing motion with the brush so the colors mix well.
Continue as so with the other colors.
When you are finished, check if the colors are blending well. In my case, the lightest color wasn’t blended well enough with the third one, so I took my lightest brush and used water to accentuate the gradient until the result was satisfying!
Let dry 30 minutes and then remove the paint tape.
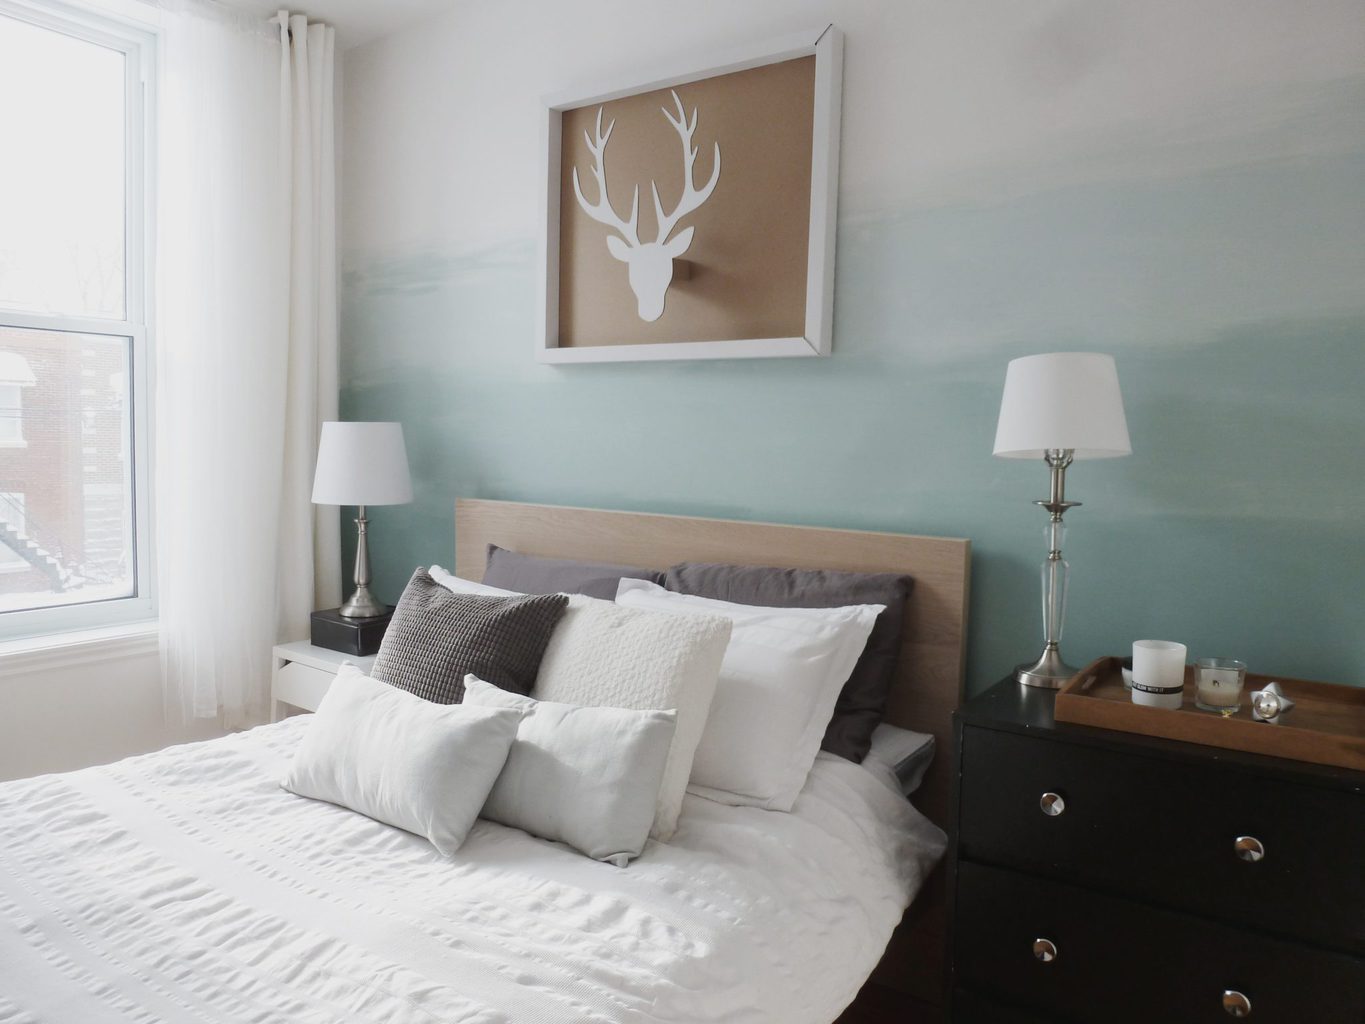
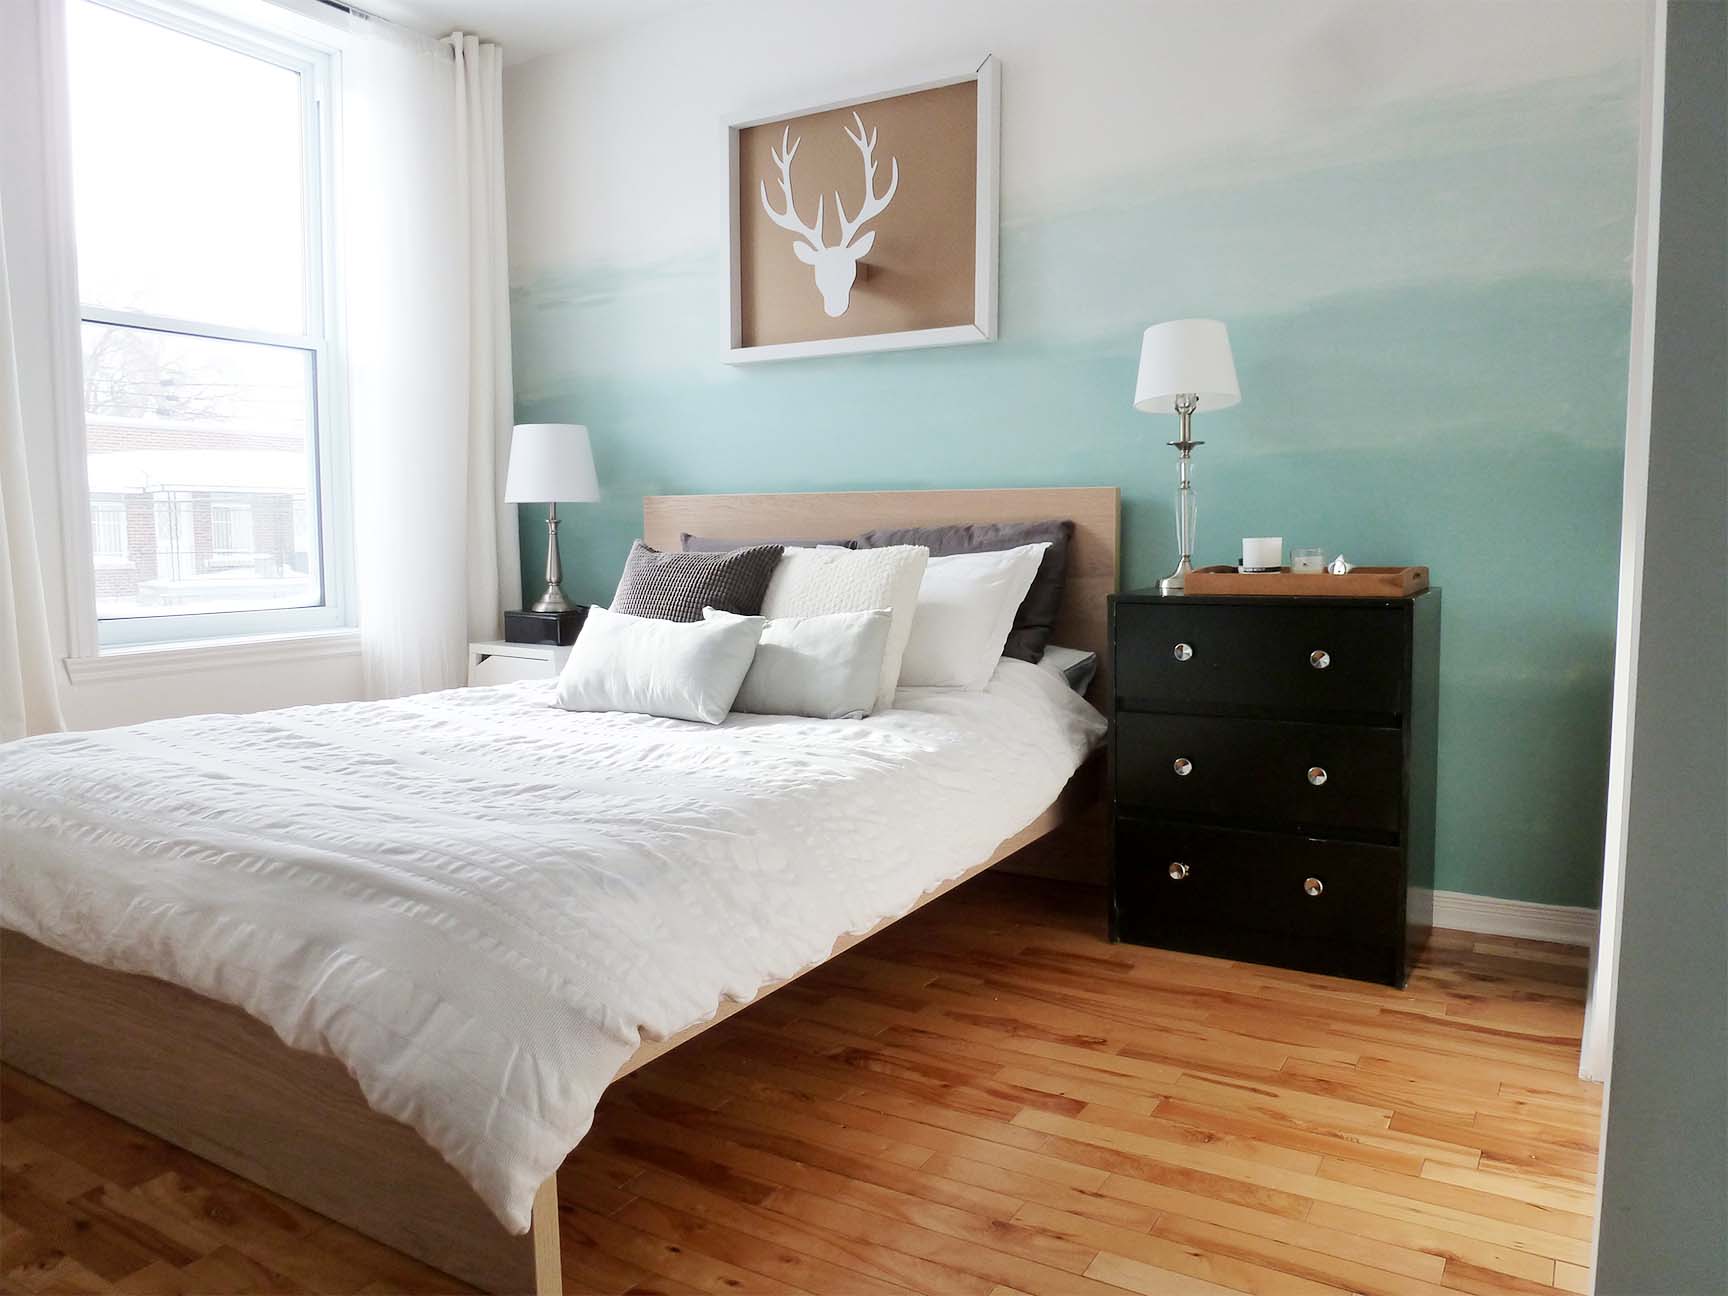
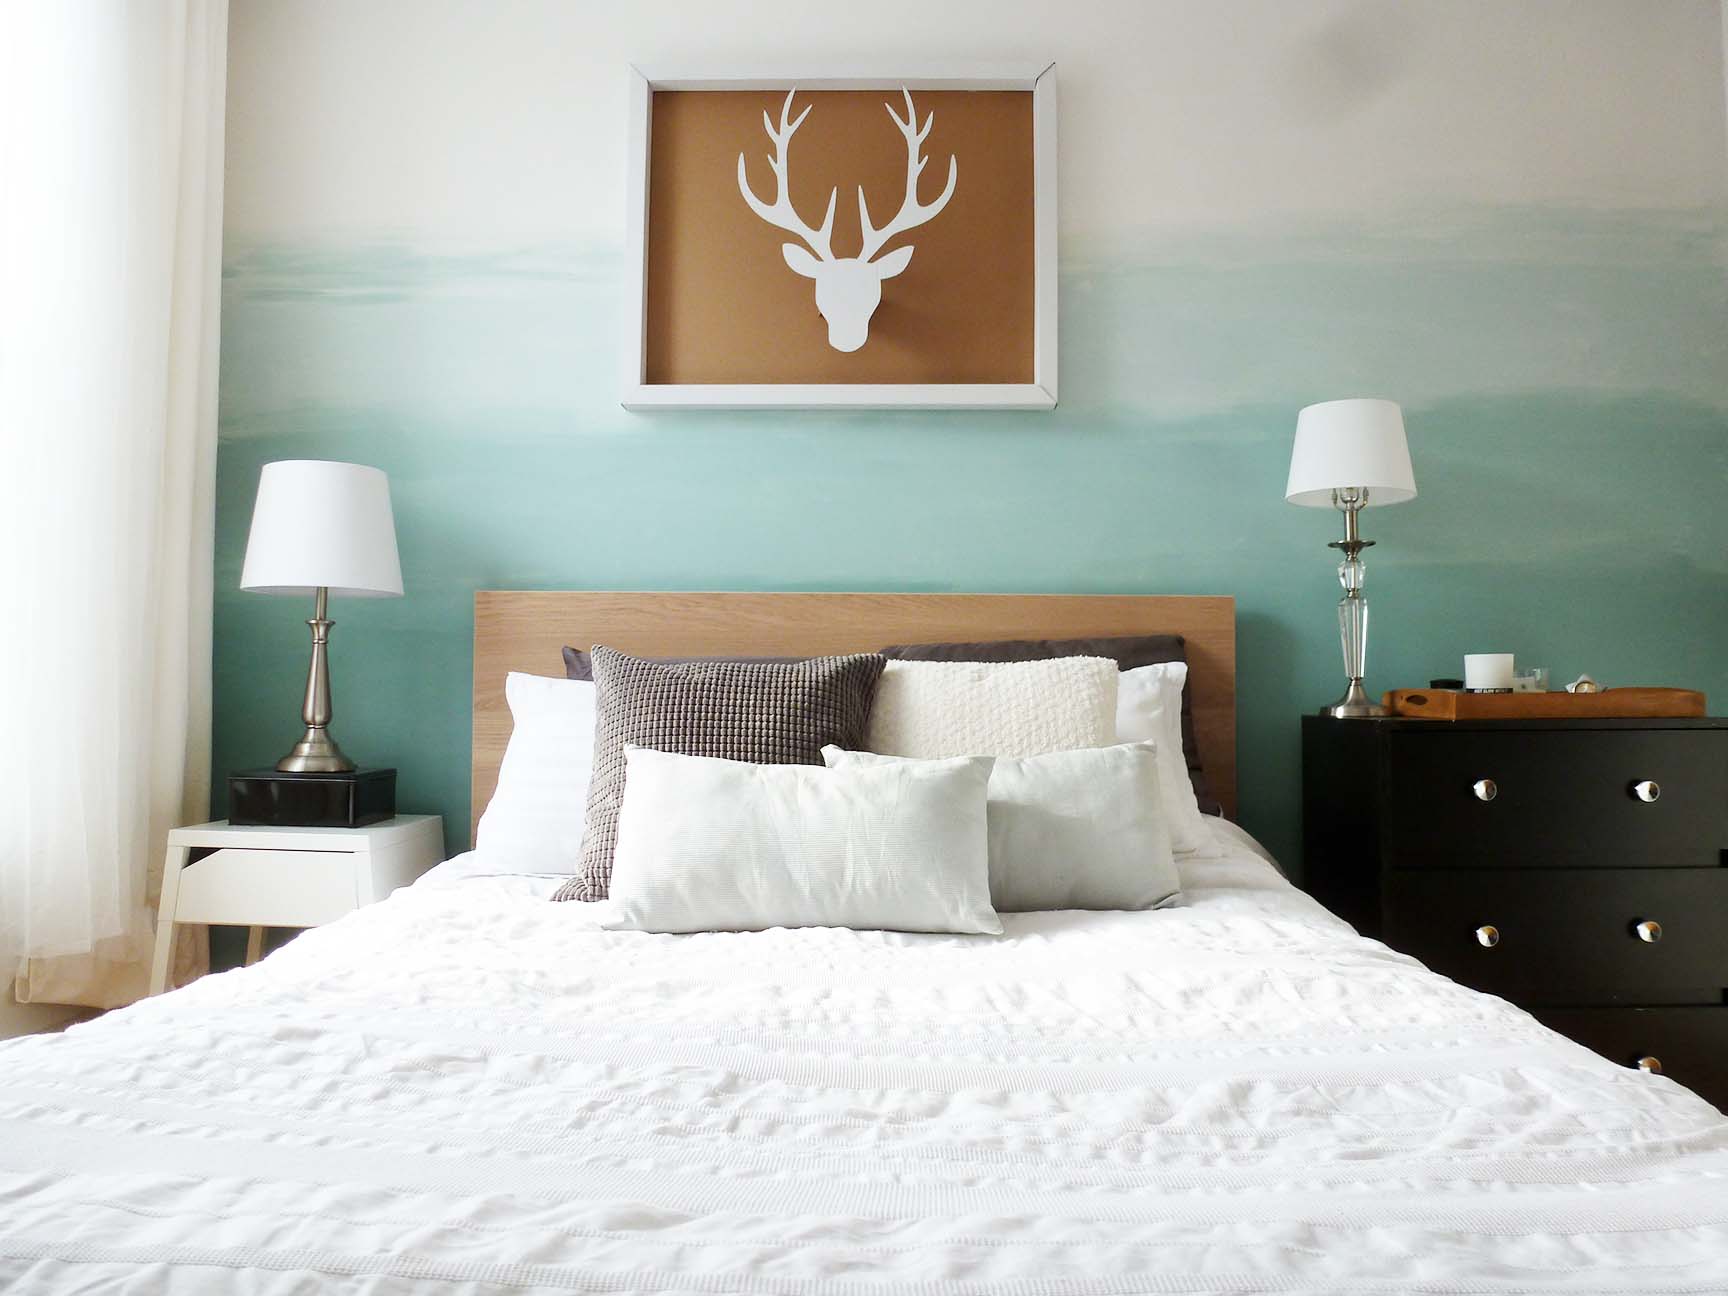
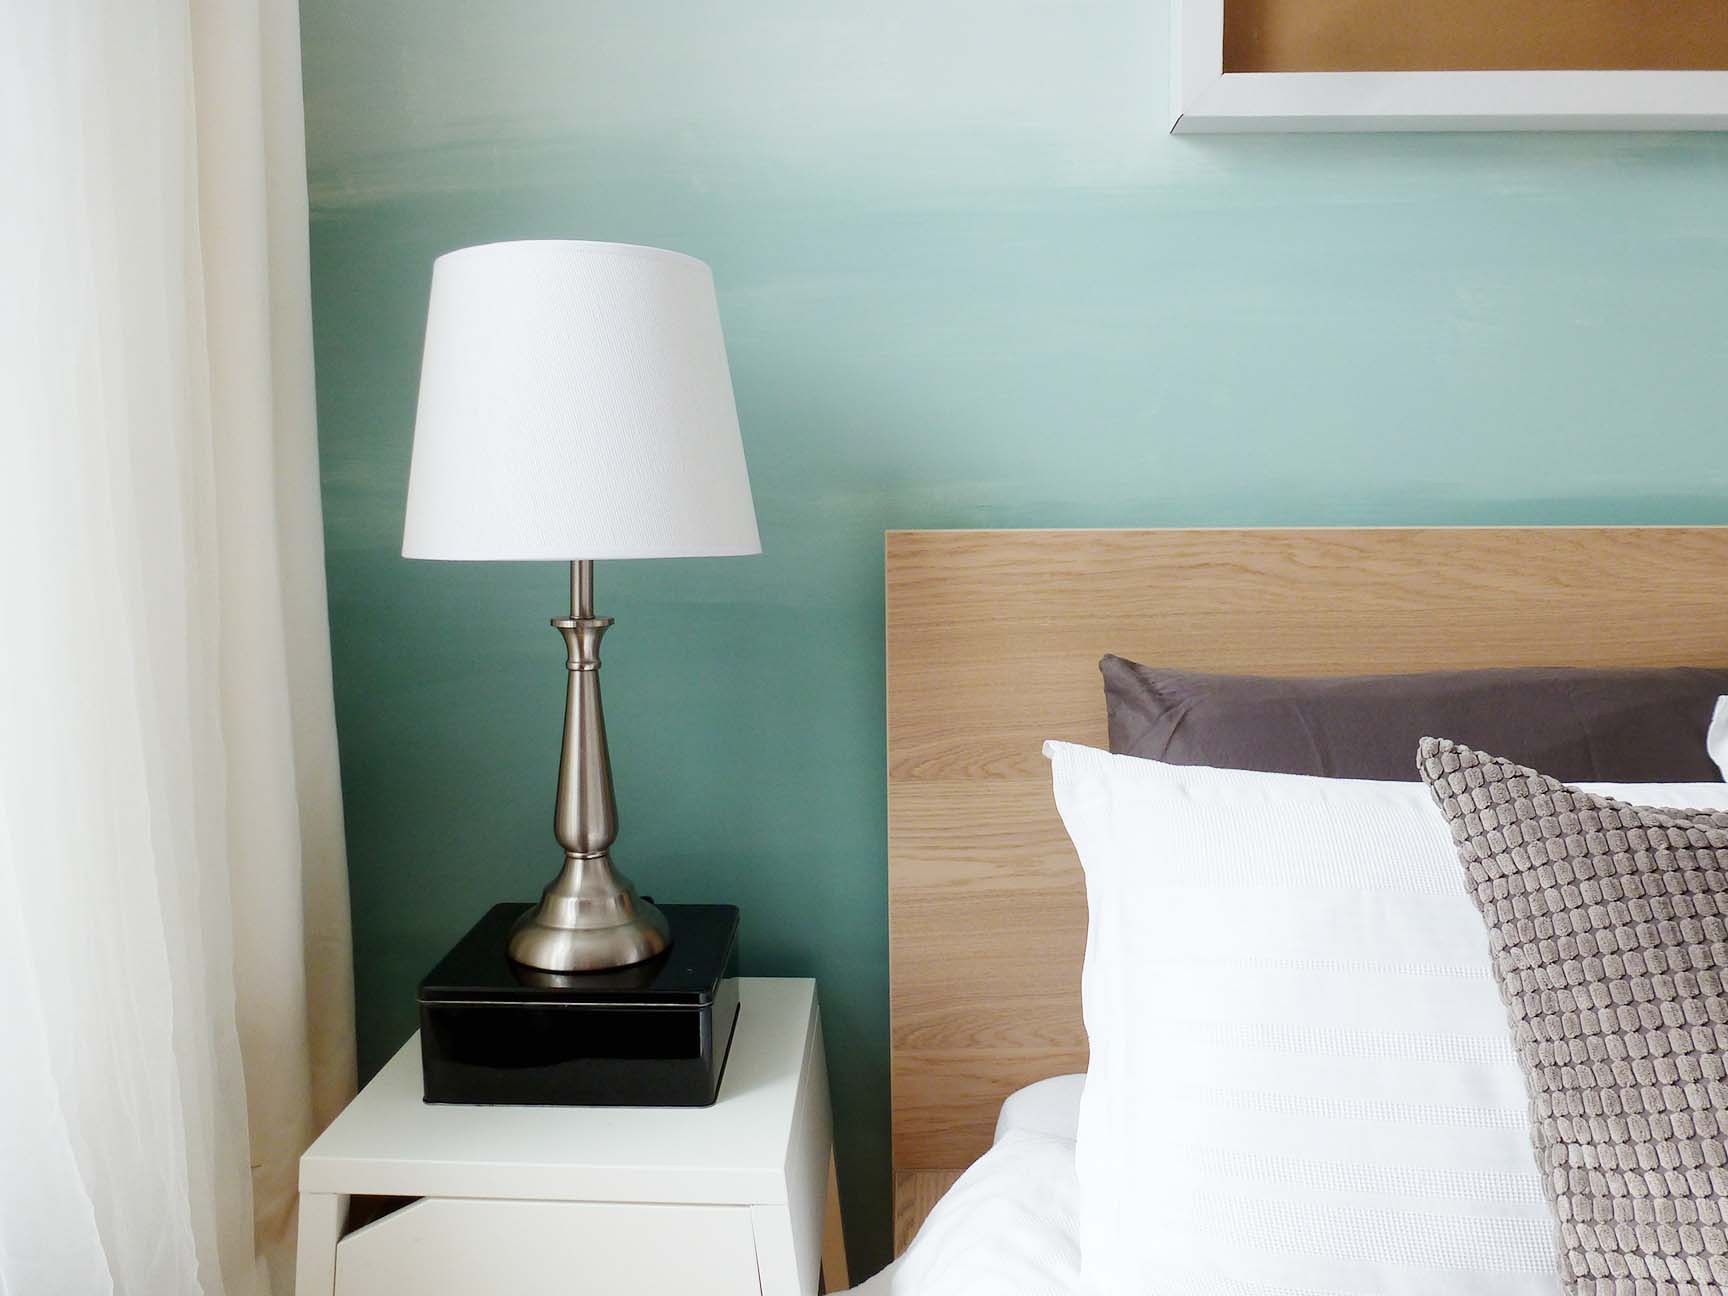
Then, wait 2 hours for the paint to dry completely and admire the result!